
The Etching Process

This week, I want to demystify the etching process, and take you through the creation of a print, from start to finish. Etching as a means of producing artwork has been around since the 15th century; metalworkers used the technique to decorate gold and silver objects from much earlier in history.
Some have mistaken my process as being mechanical/photographic. While there are ways of developing photographs on metal (this is known as photogravure) that is a very different process. My images are entirely hand-drawn, and as result, it’s incredibly laborious. This is basically drawing in metal, via acid.
The premise is quite simple: using controlled use of a mordant (usually a strong acid), lines or small holes are ‘bitten’ into a metal plate. Ink is applied into these holes/lines, and then the plate is run through a press, with damp paper placed on top. The ink is transferred to the paper, and an image is produced.
Unlike engraving, where the artist directly scratches and scrapes into the metal surface with sharp metal tools, etching is essentially indirect - it is the acid that does the work of ‘burning’/biting drawn lines into the metal surface.
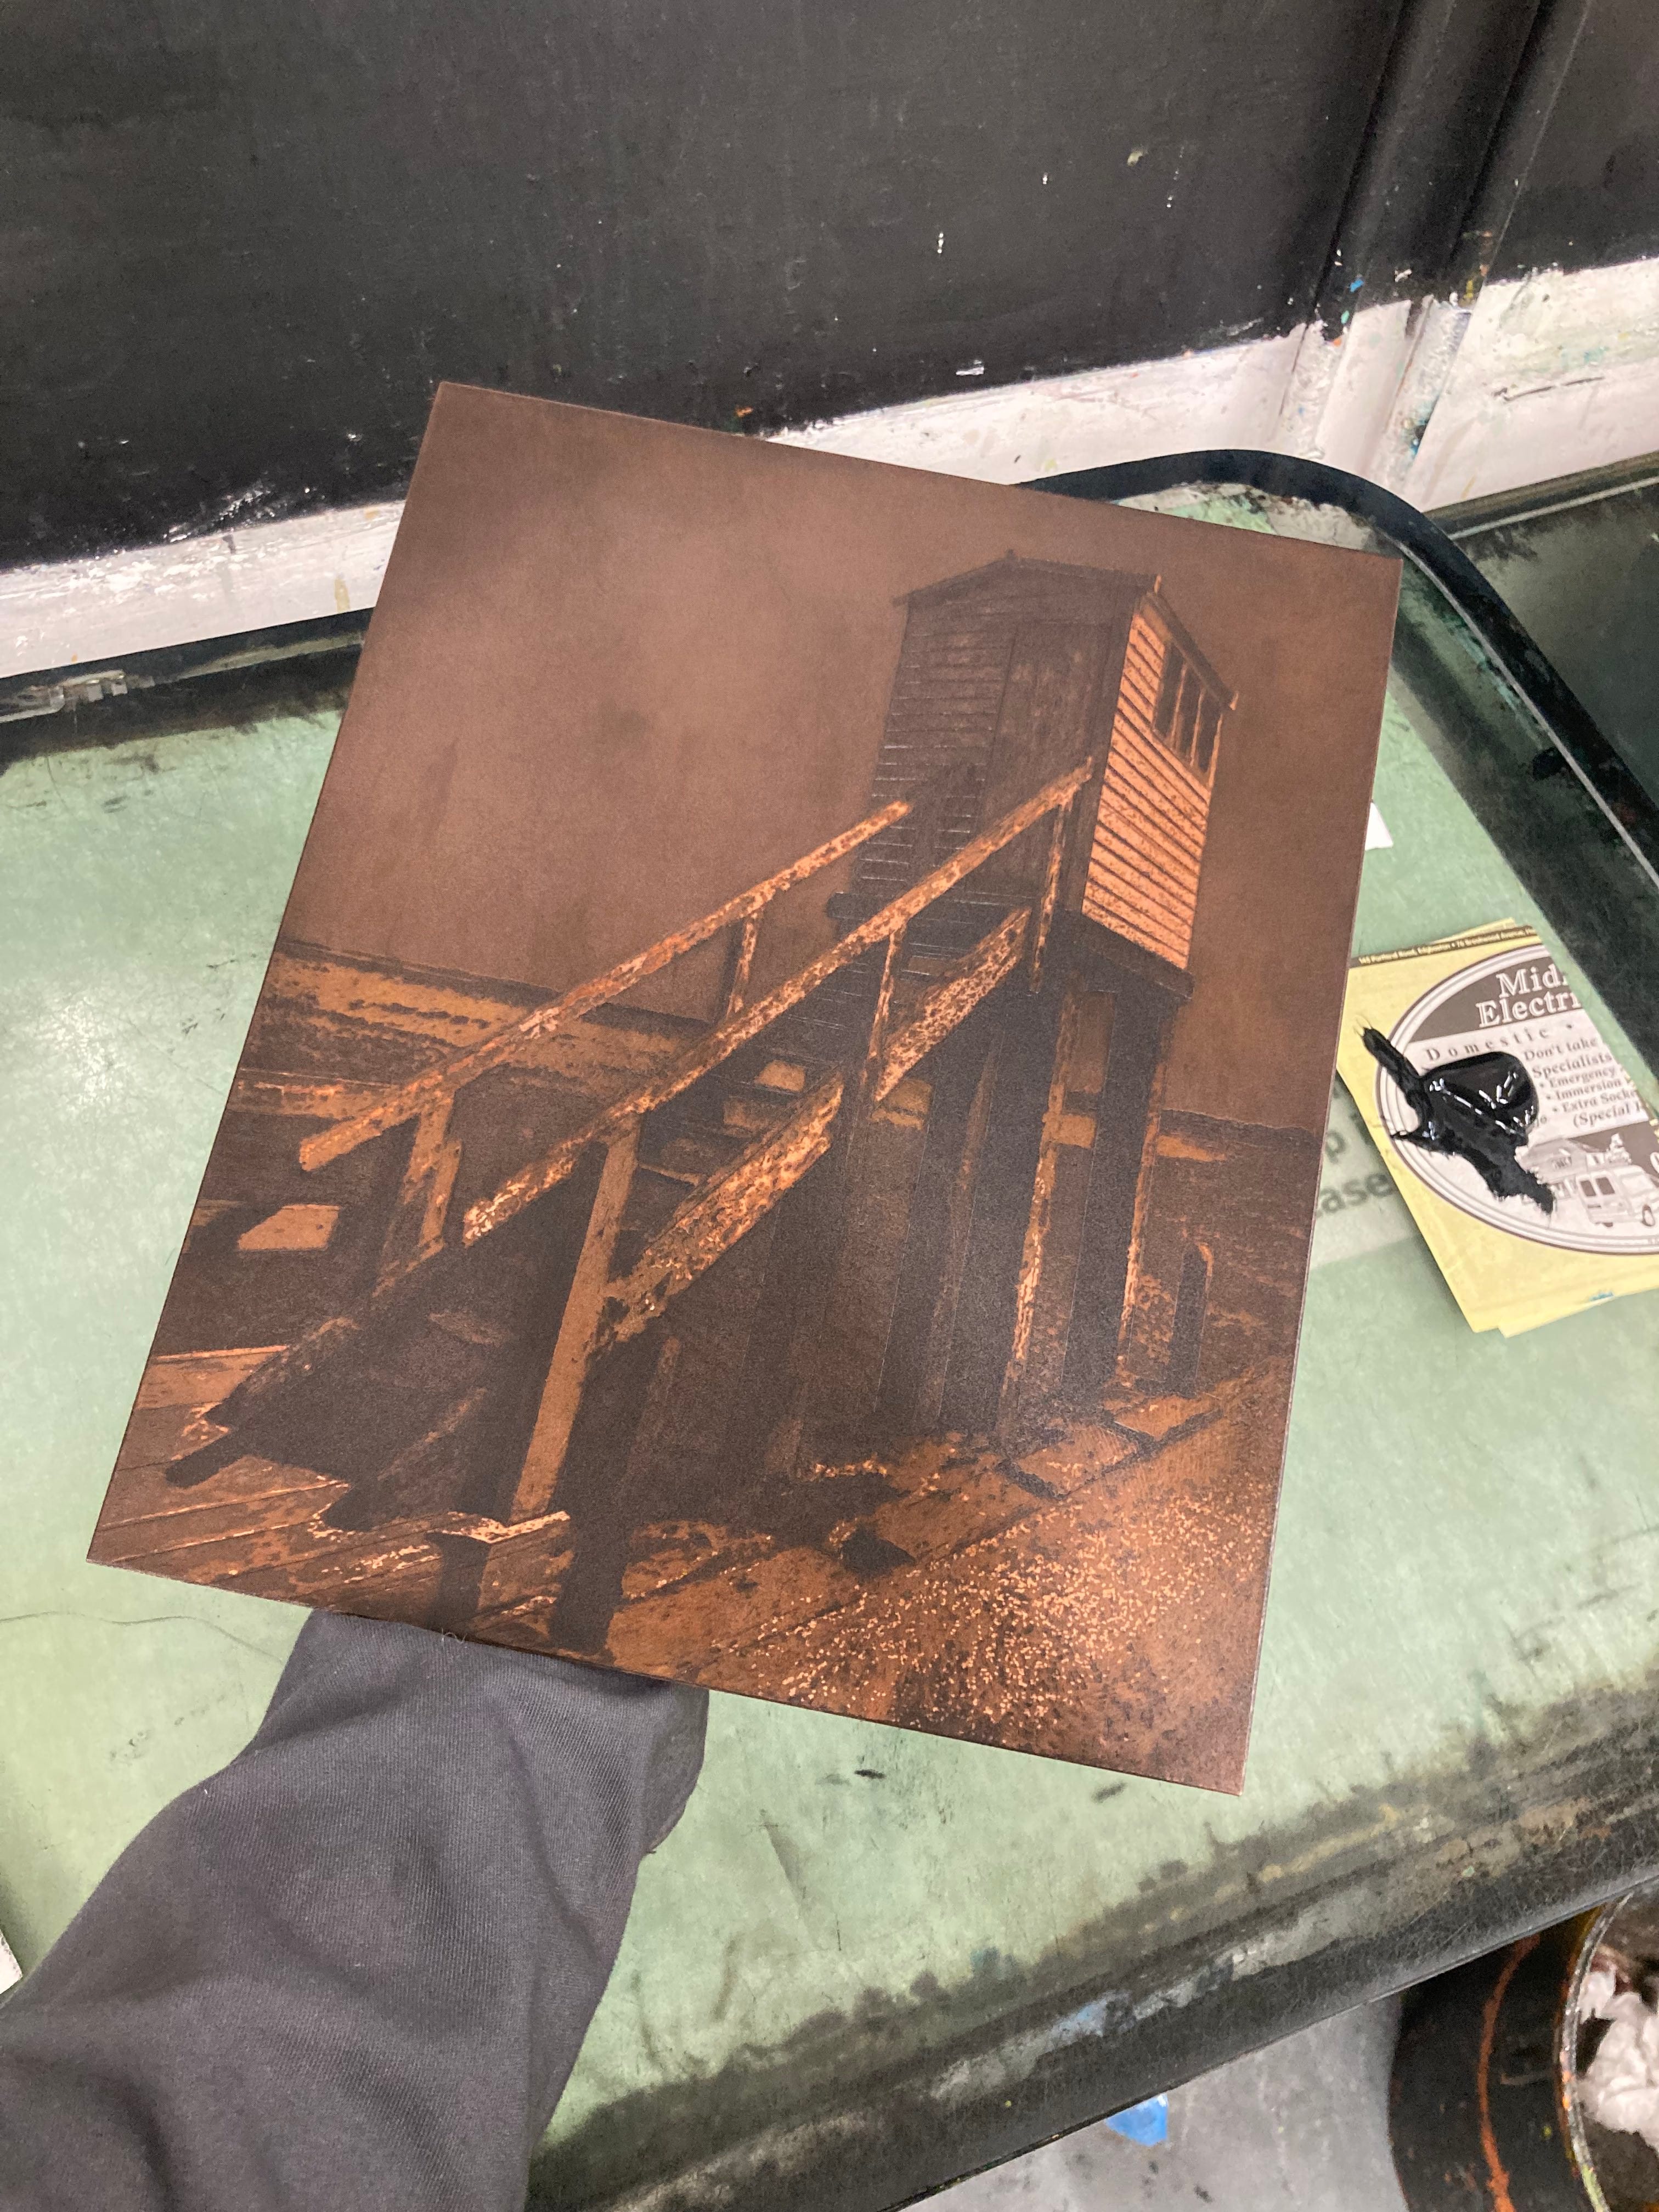
I generally use zinc (with nitric acid) or copper plates (with ferric chloride). Copper is much more expensive, but also more durable. There are many subtle differences and pros/cons, but one key issue is that zinc is a relatively soft metal, quite easily scratched by mistake, and the plate is also swiftly degraded by being put through a printing press, so fewer impressions can be taken before fine detail is lost.


Firstly, the metal plate is prepared for work. Sharp edges are filed down, blemishes polished out, and the surface carefully cleaned to remove the slightest trace of grease. It is then heated on a hotplate, and a thin layer of wax, known as a ground, is rolled over the surface. Running a flame over this wax ground hardens the surface further, and also blackens it, which is useful for the next stage, as it increases the visual contrast between the wax and the exposed metal.
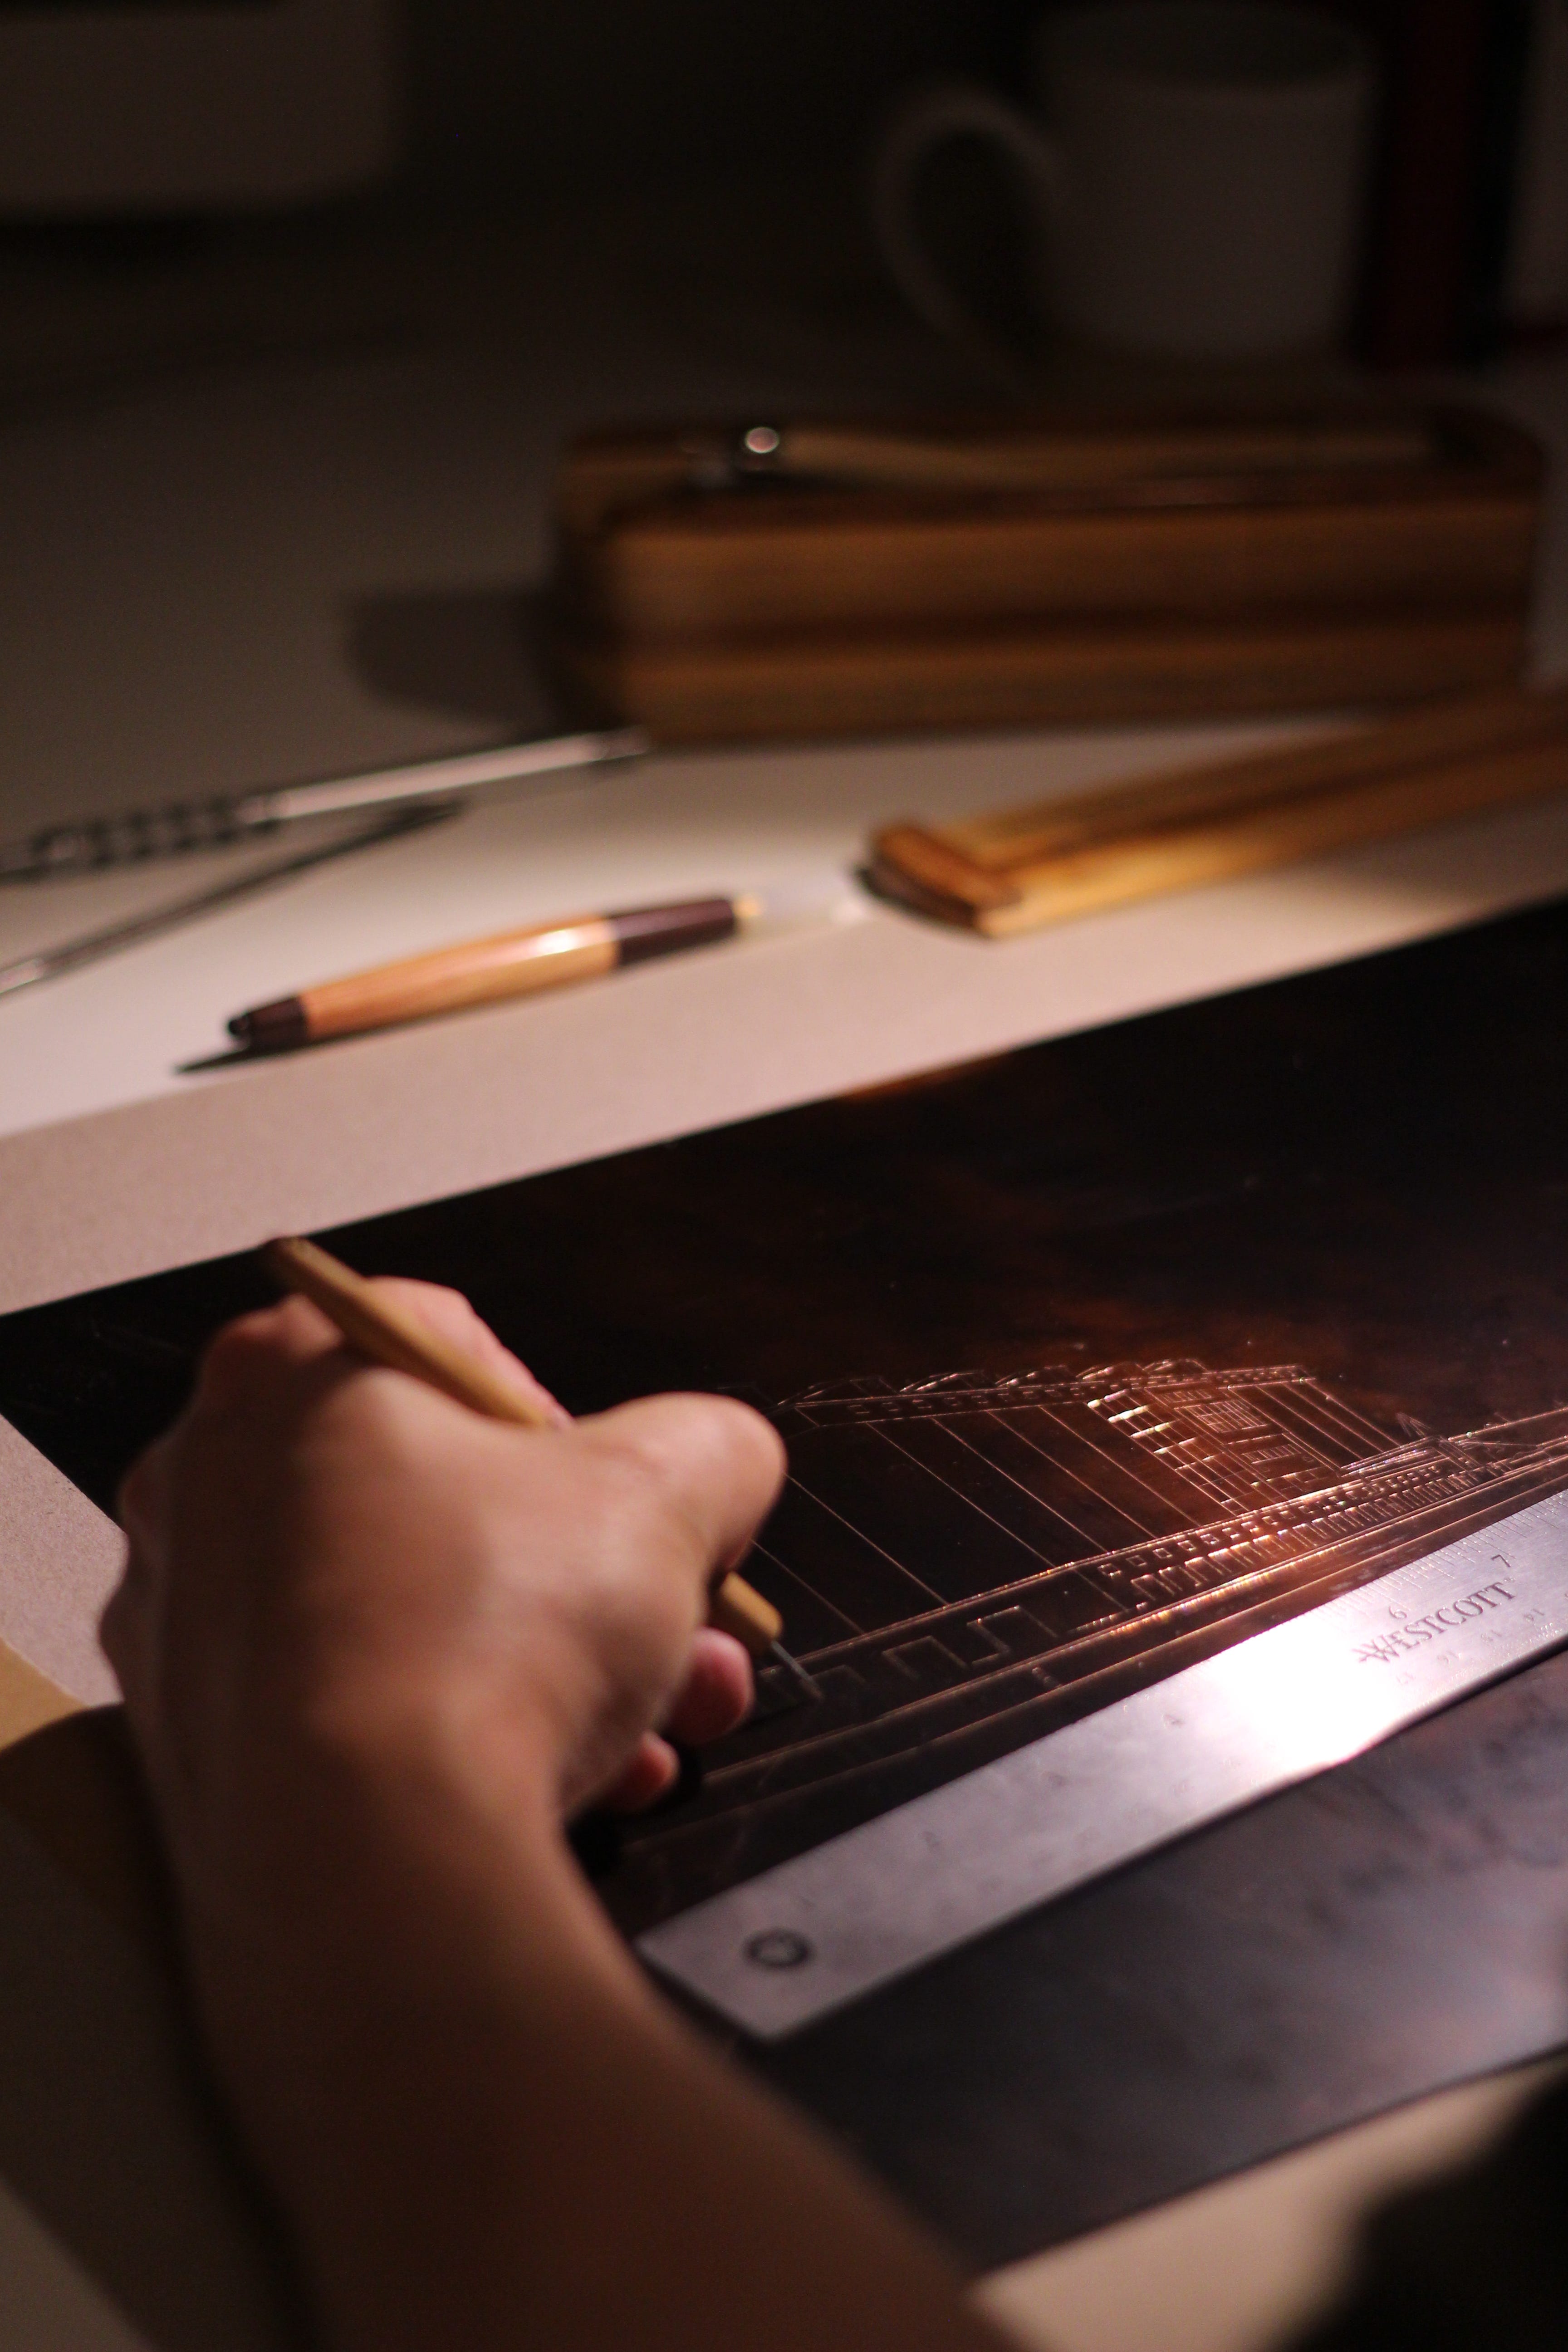
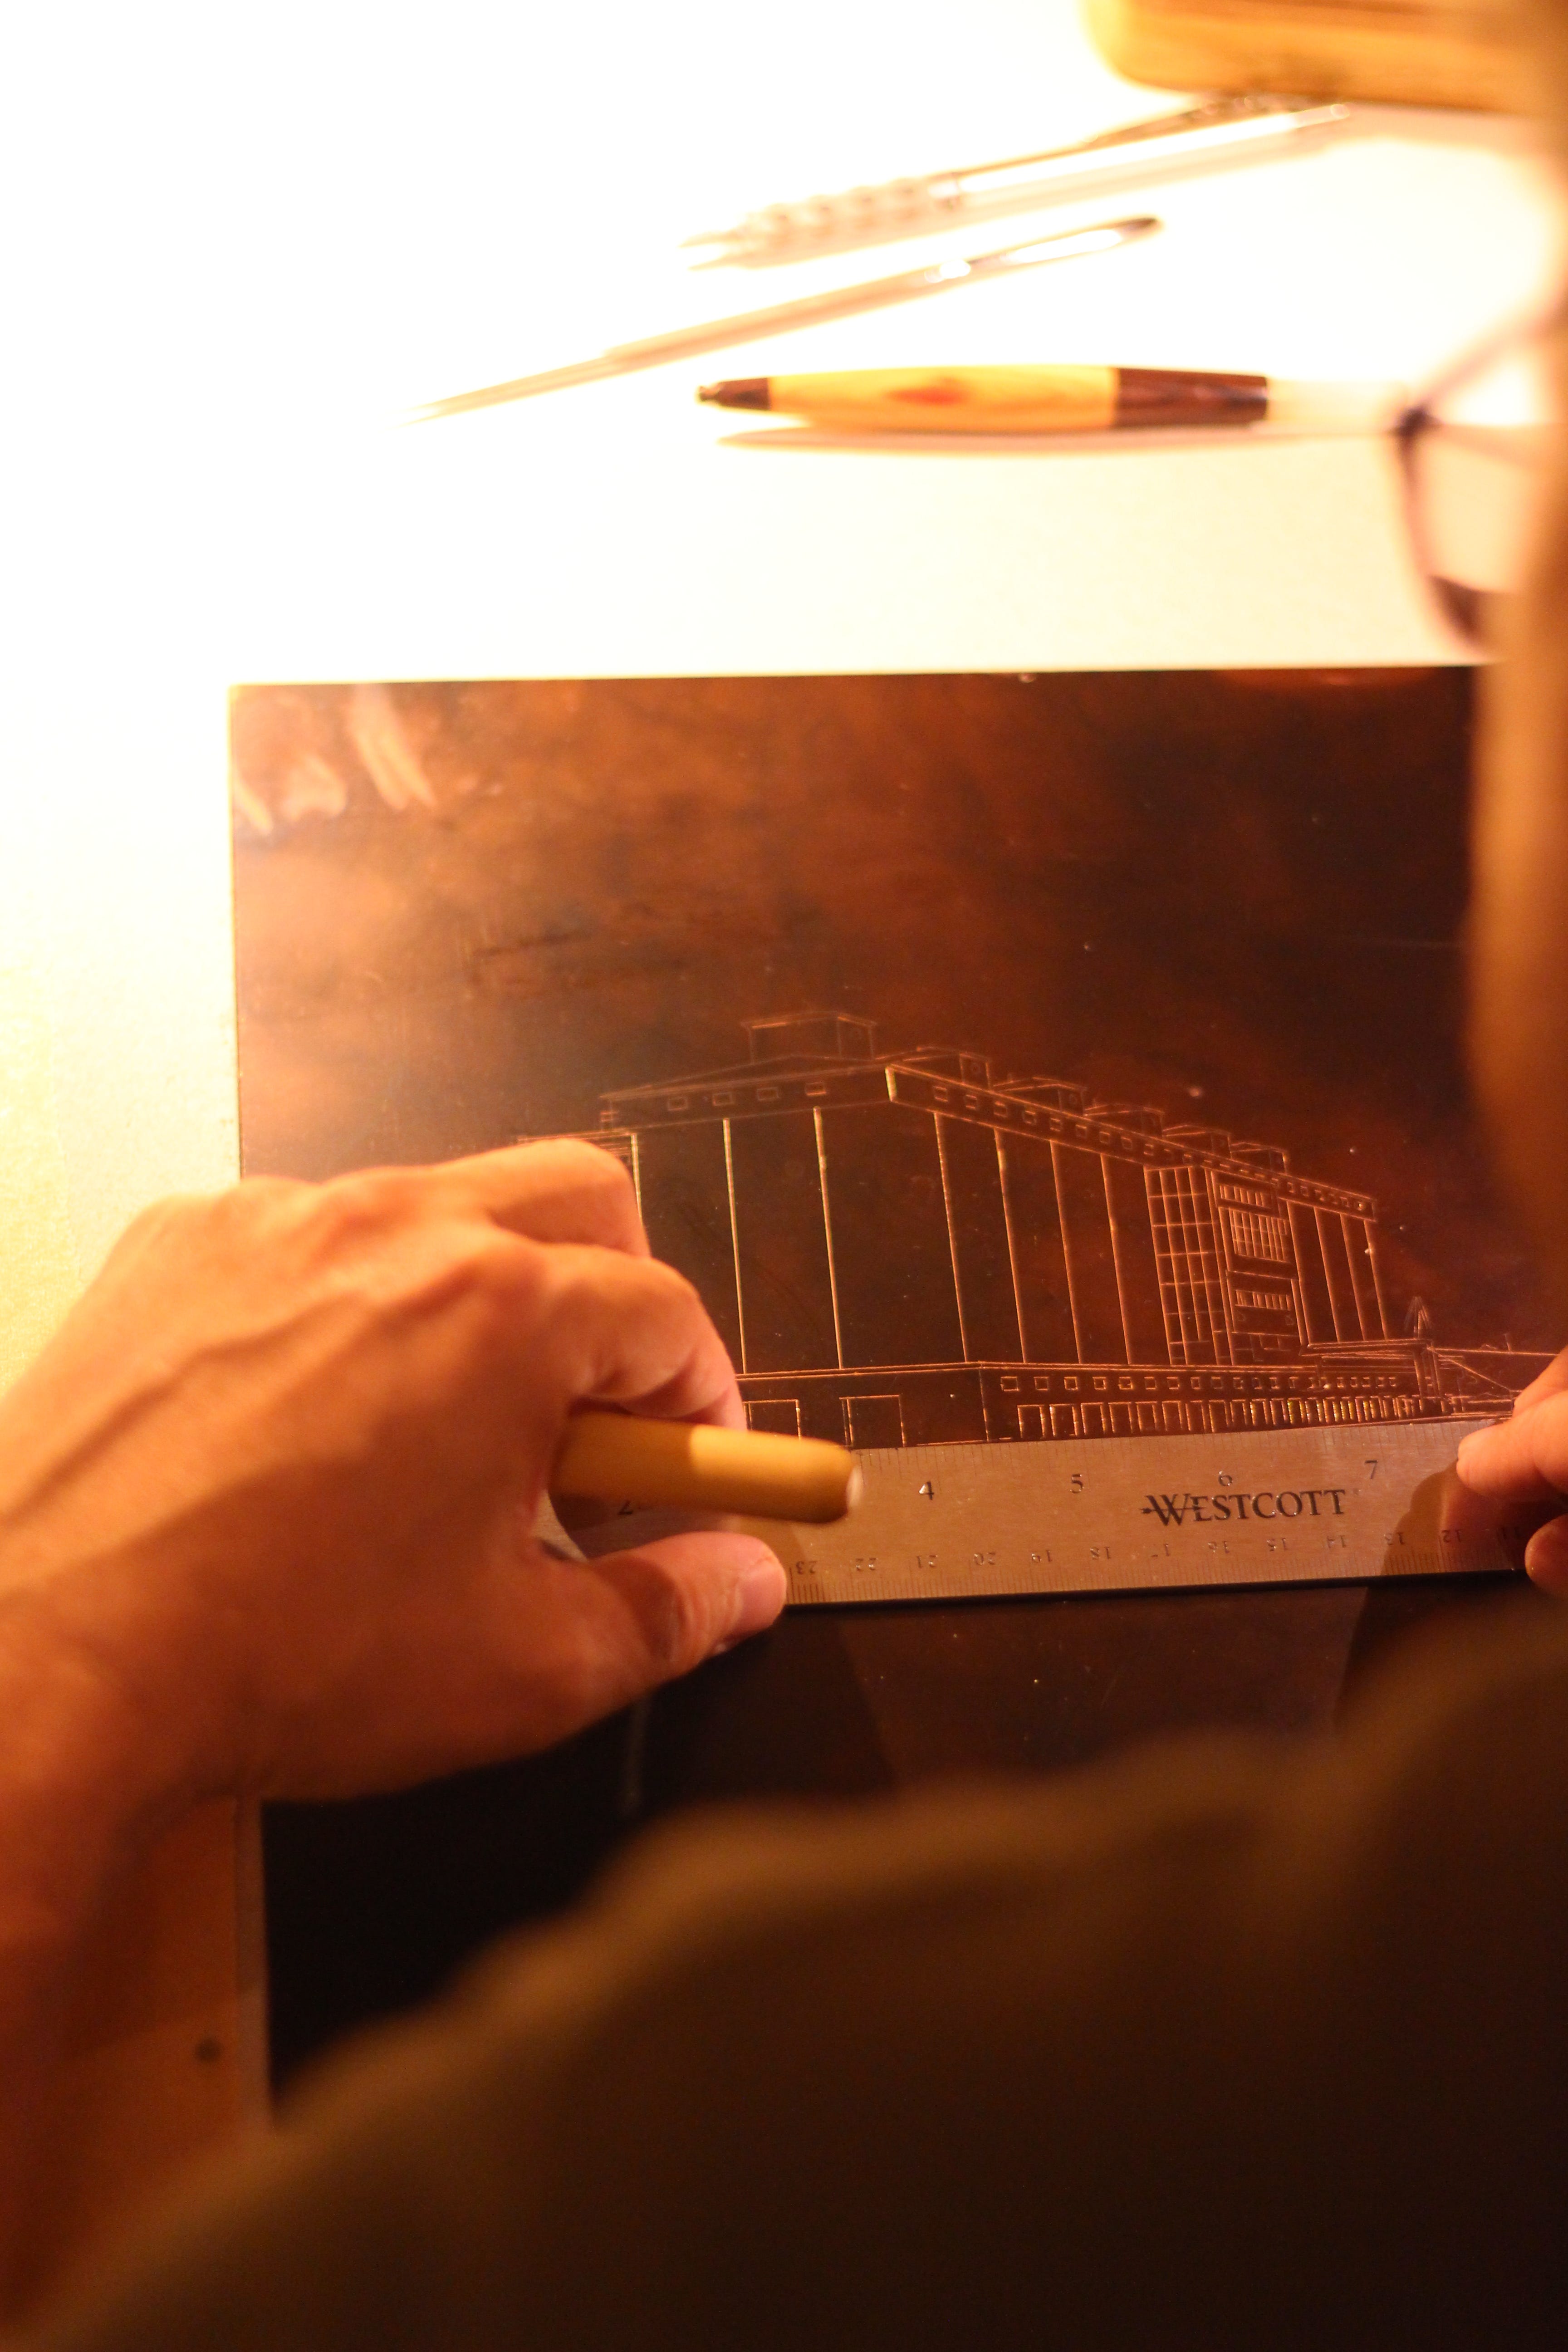
Next, I draw my lines into the wax ground. Many etching artists exclusively use line work to make their images; I rely much more heavily on tonal shading (see later…) so I draw relatively few lines at this point, but nonetheless it can be a laborious process! Any errors are corrected with a thick, gloopy varnish.
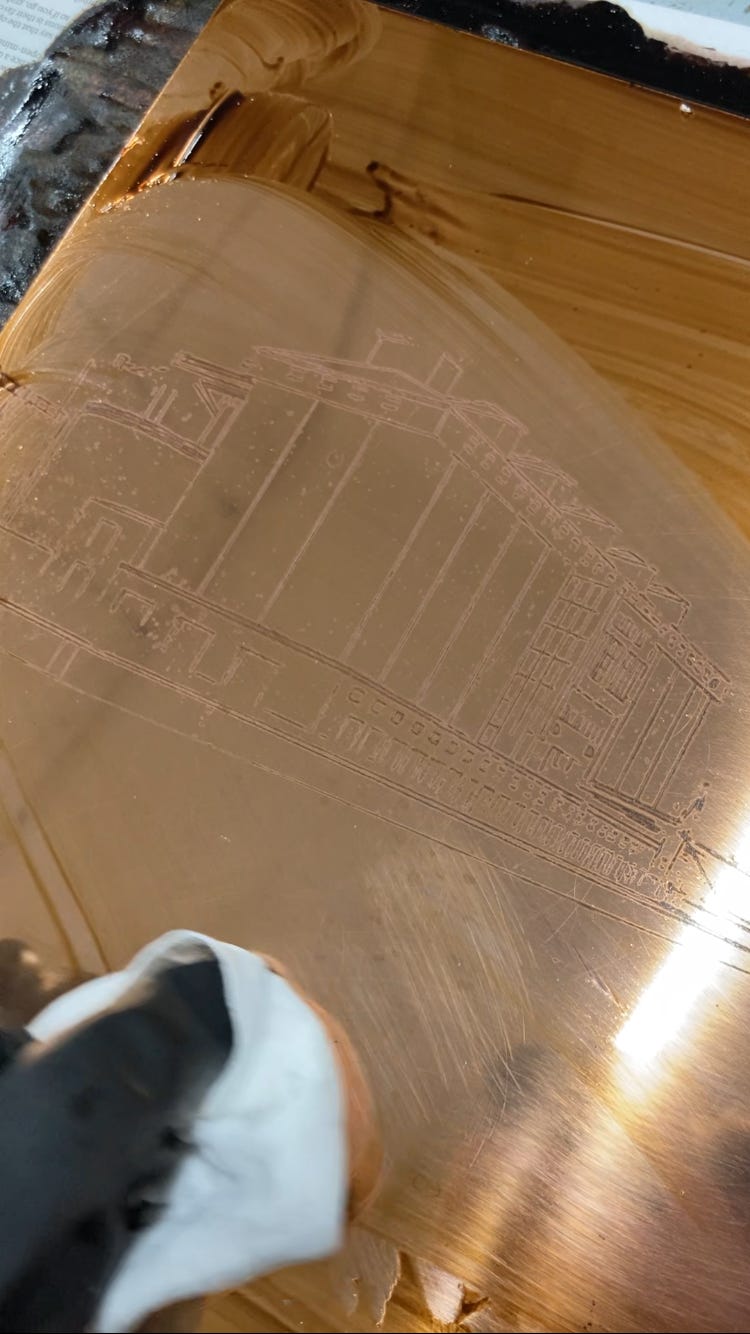
The plate is then immersed in acid. The wax ground resists the acid - so only the exposed metal, revealed by the drawing process, will be acted upon - and so the drawing is bitten into the metal. The remaining wax is then cleaned away (this remains my favourite part of the whole process) and magically, you can see your image transcribed into the surface of the metal. At this point, you could add ink to the plate, and produce a print, and for many printmakers, this is the end of the process. I rarely bother to make a print at this stage though, as most of my work relies on a subsequent technique, known as aquatint, which creates different levels of shading.
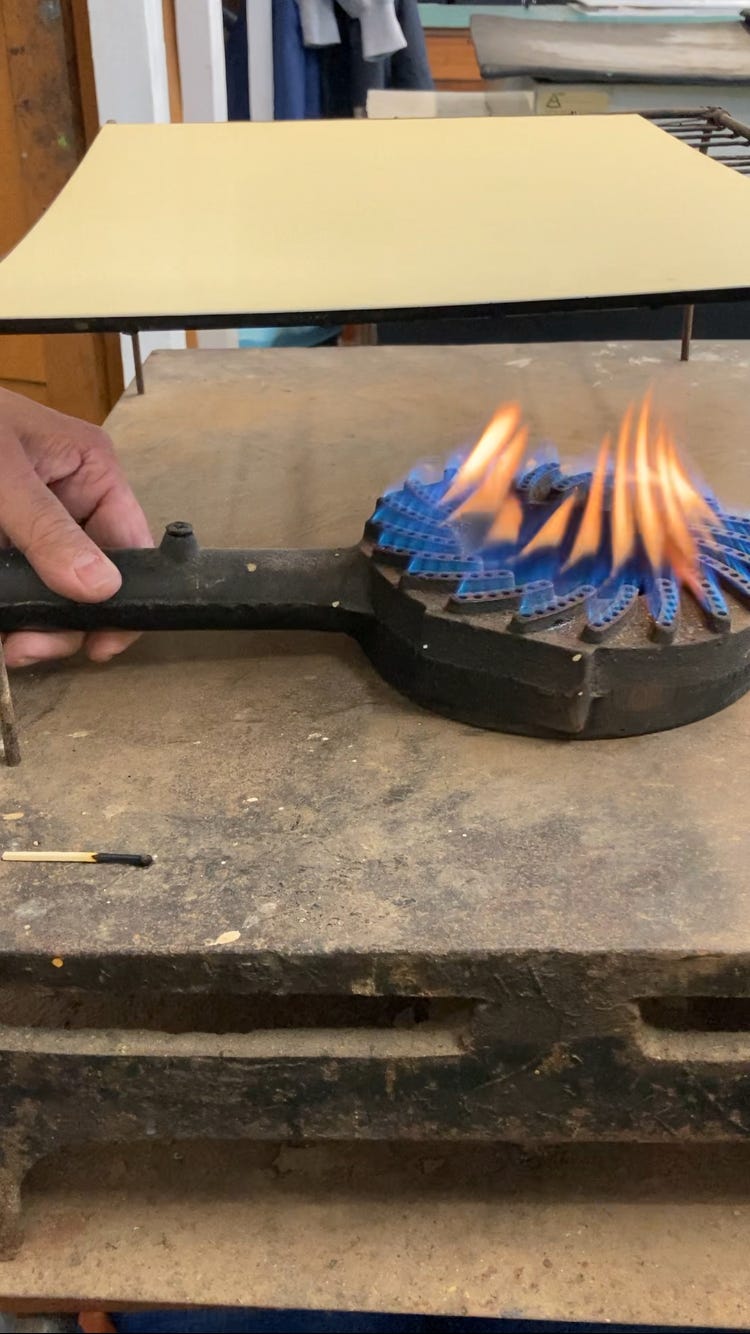
Aquatint is quite difficult to describe! A very fine sprinkling of rosin dust (ground up pine resin, but of course…) is distributed across the metal plate, and fused into place by heating the metal from underneath. If you looked at the metal very closely, you would now see squillions of acid-resistant tiny dots on the surface of the plate, with zillions of tiny spaces in between.
If you dunk the metal in acid again, all those tiny spaces become shallow pits, which can hold ink, just like the lines in the previous stage. If you then paint varnish over some sections of the plate, and give it another bath in the acid, the unvarnished, unprotected sections get bitten again, and thus the little pits become deeper. As a result, they can hold more ink, and so those sections appear darker in the final print.
If you’re an extremely careful control-freak masochist (ahem), you can work out the exact timings of each dunk in the acid, and repeat this process 6-8 times, thus creating 6-8 different shades in the metal, working from light to dark. The absolute killer is that you can’t check on your progress as you go: so you need to remember or track which parts you’ve already blocked out with thick, gloopy and equally black varnish as you go. Visually, it’s a nightmare - you may have established 5 or 6 different shades, but the plate you’re looking at it is unhelpfully solid black across all those areas. I often use Photoshop to help break down my source/reference images into distinct areas of different shades, but the entire process remains hand-drawn and incredibly time-consuming. Confusion is hard to avoid!


Finally, when all dunkings in acid are complete, the gloopy varnish is cleaned off the plate, and it’s ready to be inked up. For the first time, you can see all the exposed metal, and get a sense of whether it has all been worth it…
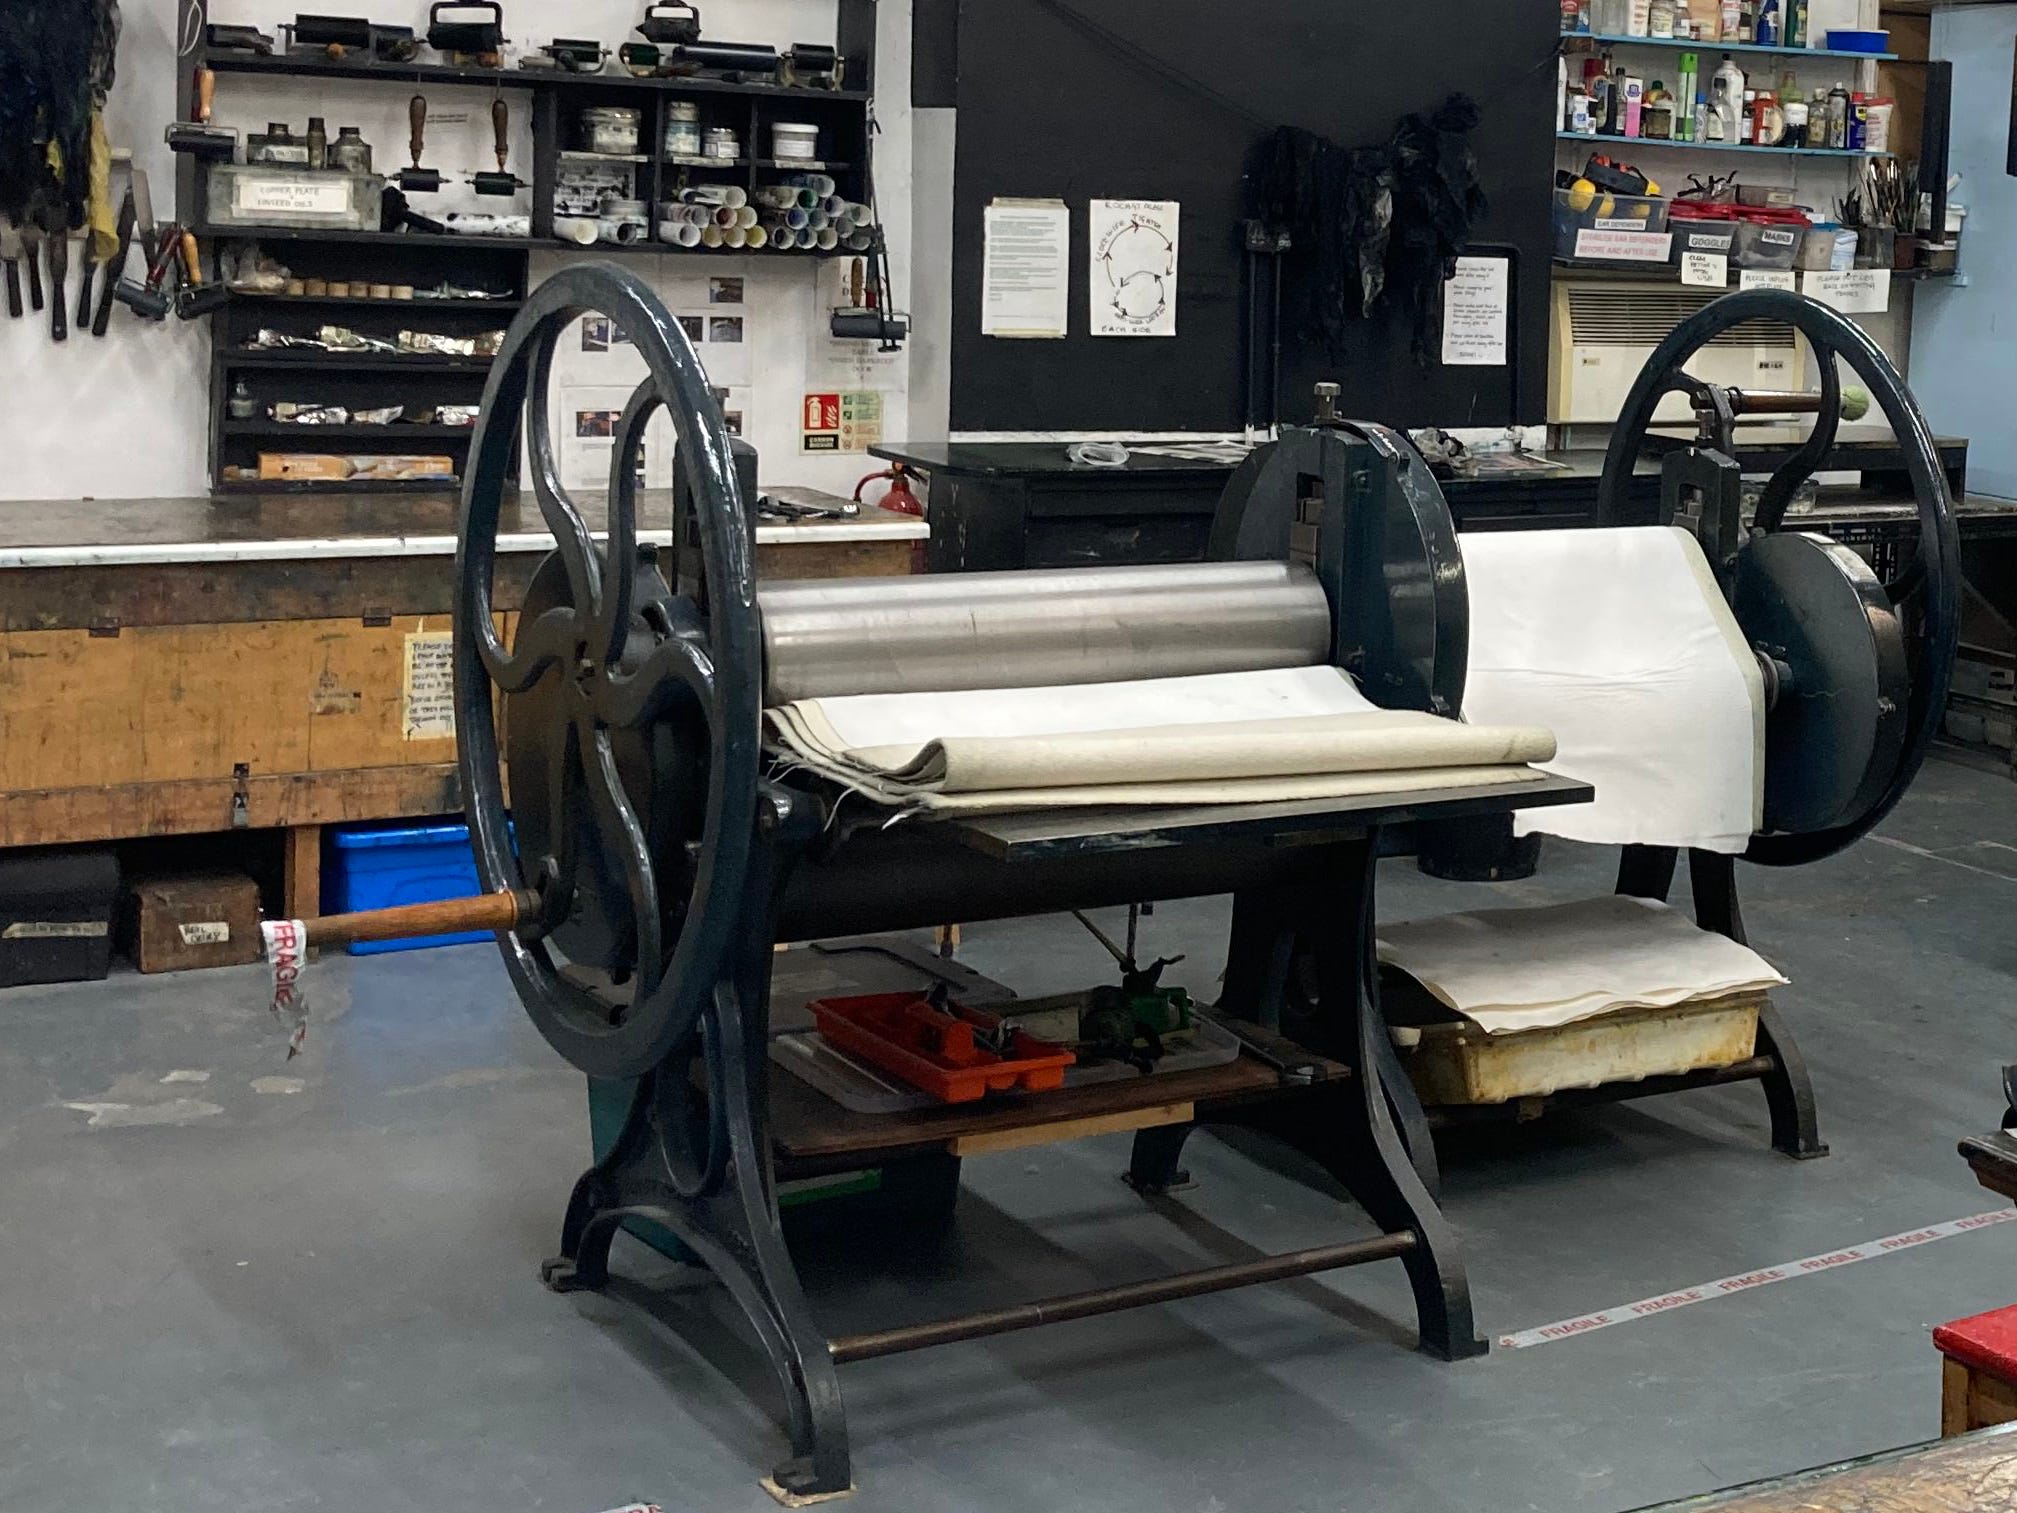
Inking up and printing. A thin layer of ink is rubbed across the surface. Using a piece of scrim (a very flat textile), you use a circular scrubbing motion to both push the ink into the bitten lines, but also to remove the excess from the surface. Meanwhile, thick papers are left to soak in water, to make them soft and pliable. They are then blotted dry, and carefully positioned over the plate, before being run through the etching press.
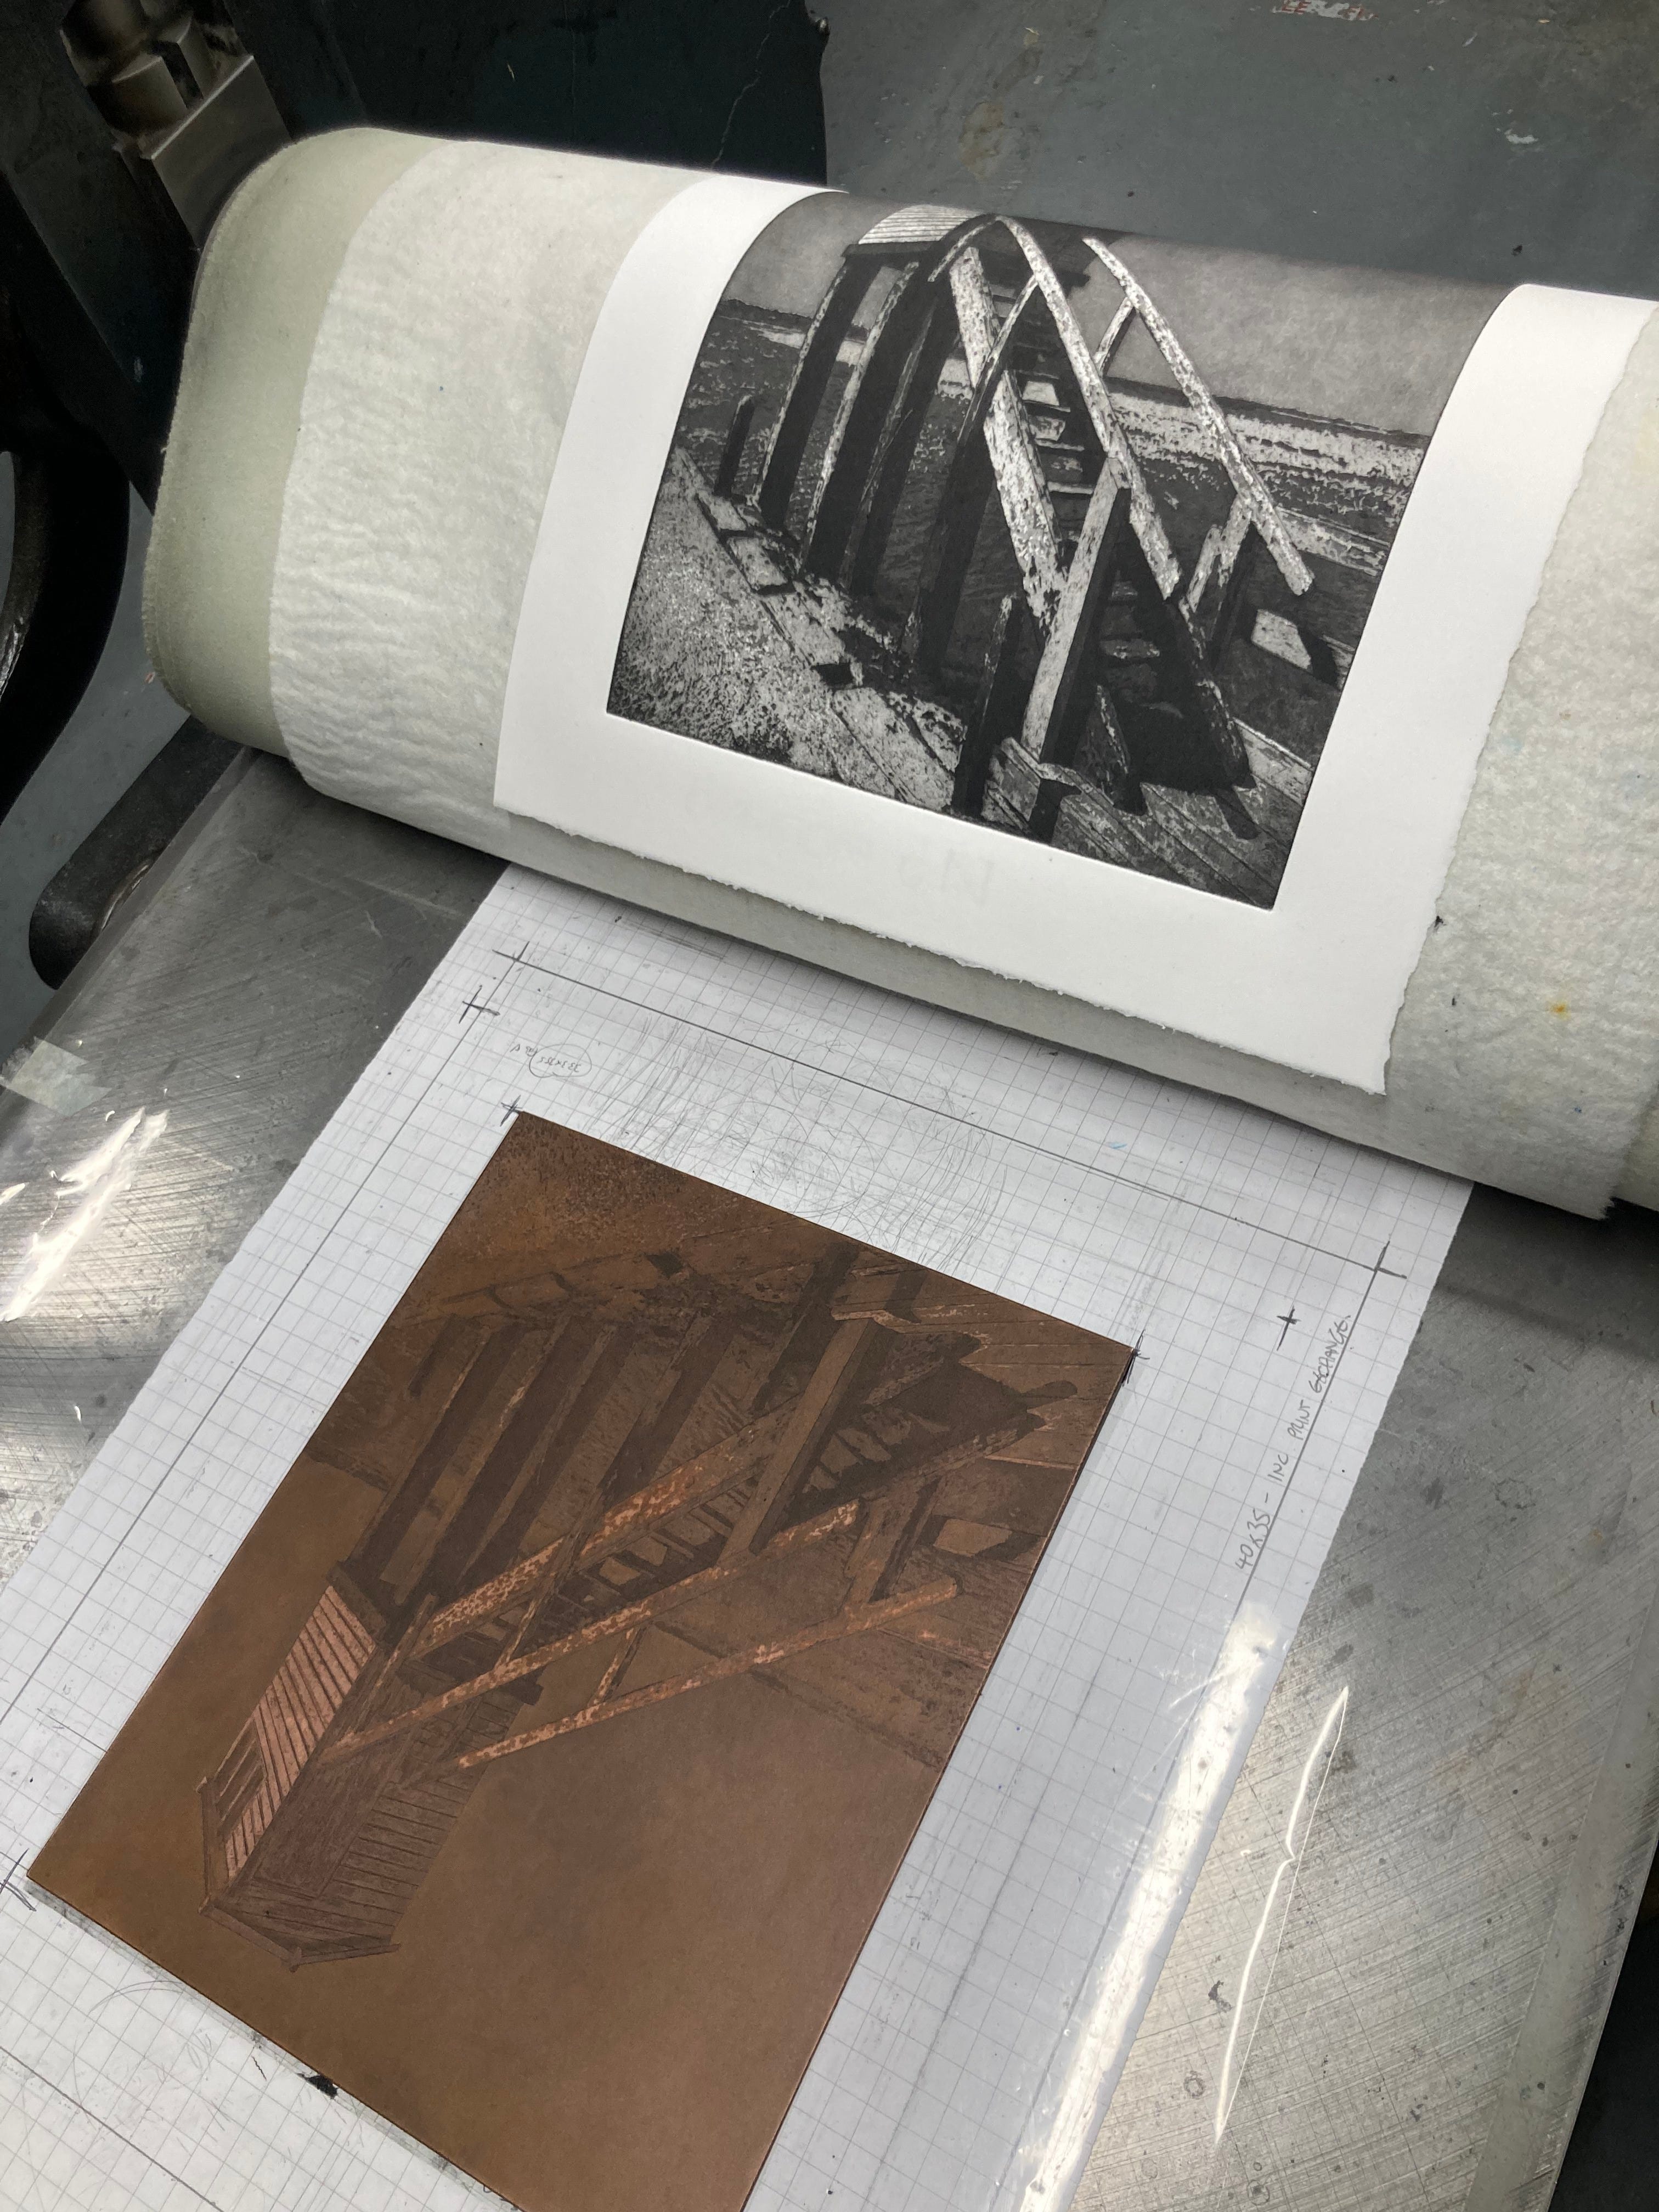
The moment of truth…
One print has been made, and it’s time to start inking up again.
For a large etching, I can spend several weeks producing the plate, before I can even see if it has worked and whether I’ve judged the different tones of shading correctly, and put them in the right places. When it comes to printing, it can take me around 45 mins just to apply the ink properly and then run off a single print. Learning to wipe the plate consistently, so that each print matches the previous, is a major skill in itself, and so the slightest error is a considerable (and costly) time sink. When things go wrong, it is incredibly frustrating - particularly when it looks like the error was made early on in the process! When everything falls into place though, it feels miraculous, and that’s where the addiction begins.
To all the new subscribers - welcome! I hope you can join me at my upcoming exhibition in Oxford at the end of February. Between now and then I hope to write to you all weekly. Next week, I’ll be focusing on the Northumberland landscape, and the relationship between photography and my drawing and etching practice.
Wow what a demanding process! I'm even more in awe of your work now!